
📄 Some content on this site was written with AI assistance and reviewed by Mileni Sabatini before publishing.
There’s something wonderfully comforting about the smell of garlic sizzling in olive oil, warming up the kitchen before a meal. I always add a pinch of salt to the oil before the garlic goes in; it helps draw out the moisture and brings out a rich, slightly caramelized flavor that infuses the dish beautifully. As the aromas start to fill the air, you know you’re about to create something hearty and satisfying.
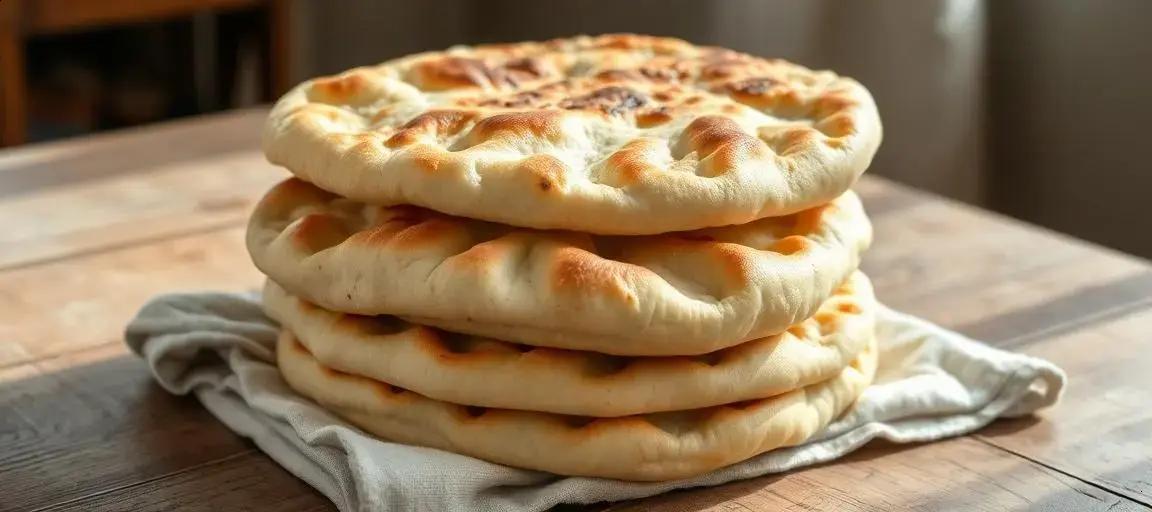
pita bread
Ingredients
Method
- Combine the dry ingredients: In a large bowl, mix 3 cups all-purpose flour, 1 cup whole wheat flour, 2 teaspoons instant yeast, 1.5 teaspoons salt, and 1 teaspoon sugar. Use your hands or a sturdy spoon.
- Add the wet ingredients: Pour in 1.25 cups warm water and 1 tablespoon olive oil. Mix until a shaggy dough forms. If it feels dry, add a splash more water (a tablespoon at a time).
- Knead the dough by hand on a lightly floured counter for about 8 minutes (or use a mixer with a dough hook). You want it smooth and springy and not sticking to your hands.
- First rise: Place the dough in a lightly oiled bowl, cover with a towel, and let it rise in a warm spot until doubled in size—usually about 1 hour. If your kitchen is cold, I tuck the bowl in the oven (turned off) with just the oven light on.
- Shape the pitas: Punch down the dough, then turn out onto your counter. Cut into 8 equal pieces. Roll each piece into a ball, cover loosely, and let them rest 10 minutes (this keeps them from springing back as you roll).
- Roll each ball into a circle, about 6 inches wide and 1/8 inch thick. If the dough resists, give it a minute to relax before finishing.
- Heat a skillet or griddle (cast iron works best) over medium-high—hot enough that a drop of water sizzles away instantly. Don’t add oil.
- Place a dough round on the skillet. Let it cook about 1 minute, or until you see bubbles. Flip, then cook another 1–2 minutes. The pita should puff up dramatically—if it doesn’t, keep going: press gently with a spatula to help.
- Wrap finished pitas in a clean towel to keep them soft as you cook the rest.
- Eat warm, or cool completely and store in a zip bag for up to 2 days. If they lose their softness, sprinkle with a little water and reheat briefly in a toaster or skillet.
Notes
Tips from my kitchen
Let the dough rest after shaping the balls; this makes rolling them out flat much easier, and it’s the difference between pitas that spring back and ones that stay the shape you want. If you try to rush, you’ll fight the dough—ten quiet minutes here pays off. The secret to getting those classic pockets? Your skillet must be really hot (think: a drop of water vanishes instantly). If your first pita doesn’t puff, just wait for the pan to heat longer before the next round. I’ve sometimes used all-white flour when I’m out of whole wheat—it works, but the flavor and chew aren’t as good. Adding more whole wheat than the recipe calls for, though, makes the pitas dense and less likely to puff.Storage and reheating
Fresh pitas are best day-of, but storing them in a resealable bag keeps them soft for two days. If they stiffen up, wrap in a damp paper towel and microwave for 10 seconds, or sprinkle with water and warm in a hot pan. Still soft and just as good for wraps or dunking into hummus.I make pita bread when I get tired of grocery store pitas that feel dry or crack when you fold them. Homemade comes out soft, chewy, and somehow fresher. The moment a pita puffs on the skillet, it always feels a bit like magic—no fancy oven tricks, just heat and patience.
Tips from my kitchen
Let the dough rest after shaping the balls; this makes rolling them out flat much easier, and it’s the difference between pitas that spring back and ones that stay the shape you want. If you try to rush, you’ll fight the dough—ten quiet minutes here pays off.
The secret to getting those classic pockets? Your skillet must be really hot (think: a drop of water vanishes instantly). If your first pita doesn’t puff, just wait for the pan to heat longer before the next round.
I’ve sometimes used all-white flour when I’m out of whole wheat—it works, but the flavor and chew aren’t as good. Adding more whole wheat than the recipe calls for, though, makes the pitas dense and less likely to puff.
Storage and reheating
Fresh pitas are best day-of, but storing them in a resealable bag keeps them soft for two days. If they stiffen up, wrap in a damp paper towel and microwave for 10 seconds, or sprinkle with water and warm in a hot pan. Still soft and just as good for wraps or dunking into hummus.