
📄 Some content on this site was written with AI assistance and reviewed by Mileni Sabatini before publishing.
The secret to achieving that creamy and rich texture in this dish lies in simmering the ingredients just long enough to meld the flavors without overcooking. I always use a splash of the pasta cooking water to adjust the sauce’s consistency; it adds a silky finish that clings beautifully to every bite. As the dish warms, the aromas come together in a delightful invitation to the table, turning a simple meal into something special. This is about making every element shine, and patience in the preparation makes all the difference.
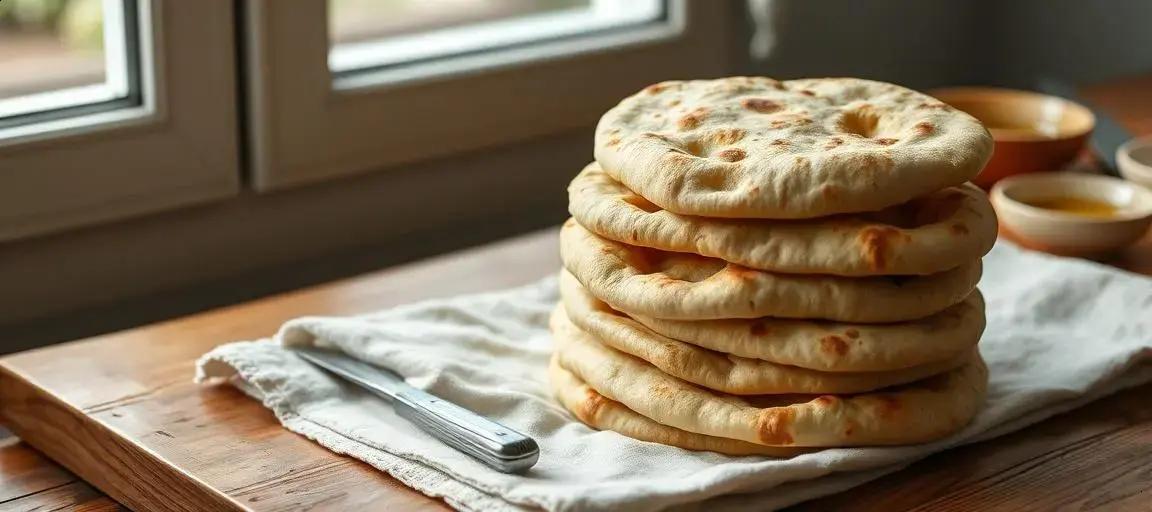
pita bread
Ingredients
Method
- Mix the yeast and sugar with lukewarm water in a large bowl. Let it rest for 5–10 minutes until you see some bubbles — this means your yeast is active.
- Add the flour, salt, and olive oil to the bowl. Stir with a spoon until a shaggy dough forms. Use your hands to bring everything together by pressing and folding. Don’t worry if it’s a bit sticky.
- Knead on a lightly floured surface for about 8 minutes until the dough gets smoother and springs back a little if you poke it. I set a timer; it always feels longer than it is.
- Drizzle a little olive oil in a clean bowl, add the dough, and turn it once so it gets a thin coat all over. Cover with a damp towel or plastic wrap and let it rise at room temp until it doubles in size, about 1 hour. (If my kitchen is cold, I leave the bowl inside my microwave — turned off — just as a cozy spot.)
- Punch down the dough and tip it onto a floured surface. Cut it into 8 equal pieces. Roll each into a ball and cover with a towel so they don’t dry out while you’re working.
- Working one piece at a time, use a rolling pin to flatten a dough ball into a disk about 1/4 inch thick. If the dough springs back, let it rest a minute and try again.
- Meanwhile, heat a cast iron skillet or heavy pan over medium-high heat. It’s ready when a drop of water sizzles right away.
- Lay a rolled pita onto the hot pan. Wait for bubbles to form (about 1–2 minutes), then flip and cook the other side for another minute. The pita should puff; if not, try pressing gently around the edges.
- Stack cooked pitas in a clean kitchen towel to keep them soft. Eat warm, or cool and store in a zip bag for up to 2 days. For the best experience, reheat briefly before serving.
Notes
What actually helps your pitas puff
If your pita stays flat, it’s almost always about the moisture or heat. The dough should be soft and barely sticky before rising—add flour only if it’s truly unworkable. The pan also needs to be really hot. I splash a few drops of water and watch: if they dance and vanish fast, I know the surface is ready. Another thing nobody tells you: roll each disk evenly. If you leave thicker spots, the steam can’t build up, and no pocket. When I teach this in classes, I watch students and make them rotate with every roll—a habit from making dozens at a time.Substitutions that really work (and a couple that don’t)
You can swap half the white flour for whole wheat if you like a bit more texture, but keep at least half white for reliable puffing. Instant yeast can stand in for active dry—add it directly to the flour. Oil-free versions are possible, but you lose some softness; I don’t recommend skipping it if you want that classic chew. Gluten-free flour blends: I’ve tried, but honestly, the texture stays gummy and the pockets rarely form.Keeping and reheating — what actually works
Wrap extra pitas in a clean towel as you make them, then transfer to a zip bag once cool. They freeze well for up to a month. To reheat, sprinkle with a few drops of water and warm in a skillet or toaster oven—restores the softness and steam in about 90 seconds. Don’t microwave unless you like them tough.I grew up eating pita bread straight out of the pan, steam still puffing out of the pocket. Even after years of making them, I still get that small thrill when they balloon up just right.
What actually helps your pitas puff
If your pita stays flat, it’s almost always about the moisture or heat. The dough should be soft and barely sticky before rising—add flour only if it’s truly unworkable. The pan also needs to be really hot. I splash a few drops of water and watch: if they dance and vanish fast, I know the surface is ready.
Another thing nobody tells you: roll each disk evenly. If you leave thicker spots, the steam can’t build up, and no pocket. When I teach this in classes, I watch students and make them rotate with every roll—a habit from making dozens at a time.
Substitutions that really work (and a couple that don’t)
You can swap half the white flour for whole wheat if you like a bit more texture, but keep at least half white for reliable puffing. Instant yeast can stand in for active dry—add it directly to the flour. Oil-free versions are possible, but you lose some softness; I don’t recommend skipping it if you want that classic chew.
Gluten-free flour blends: I’ve tried, but honestly, the texture stays gummy and the pockets rarely form.
Keeping and reheating — what actually works
Wrap extra pitas in a clean towel as you make them, then transfer to a zip bag once cool. They freeze well for up to a month. To reheat, sprinkle with a few drops of water and warm in a skillet or toaster oven—restores the softness and steam in about 90 seconds. Don’t microwave unless you like them tough.